Inspiration
Finding an idea for the decal was pretty easy for me. As soon as I sat down I thought of things I would be proud to display on my car. The first thing that came to mind and I ended up using this idea, was a decal of the logo of my favorite band, Rise Against.

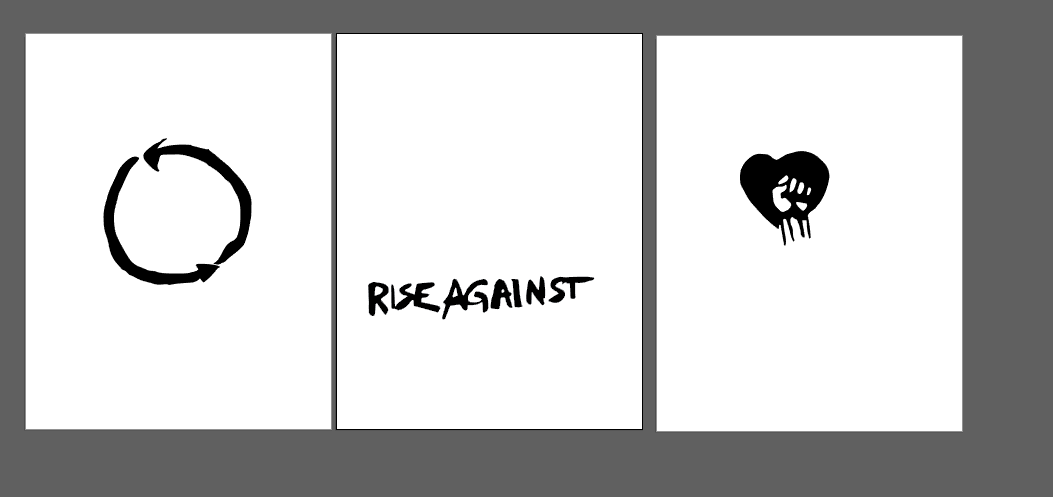
Since we had to use 3 different colors for the icon, I chose to cut the hand and heart out of red, arrows out of blue, and text out of white. I chose red, white, and blue because Rise Against is a very political band coming out of Chicago, and their messages are always great.
After I found an image of their logo online, I split it up onto 3 different artboards in Illustrator so I would be able to cut each one out separately.
I loaded the vinyl as shown below before each cut, and the on the computer it's as simple as pulling up the correct file, making sure you only have the lines you wanna click, then clicking cut plot. (And making sure the settings look correct to not waste material)

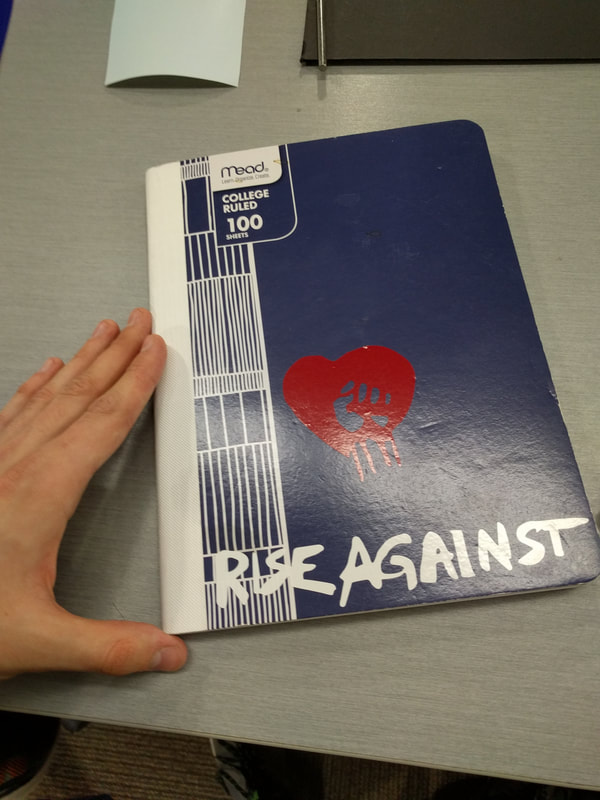
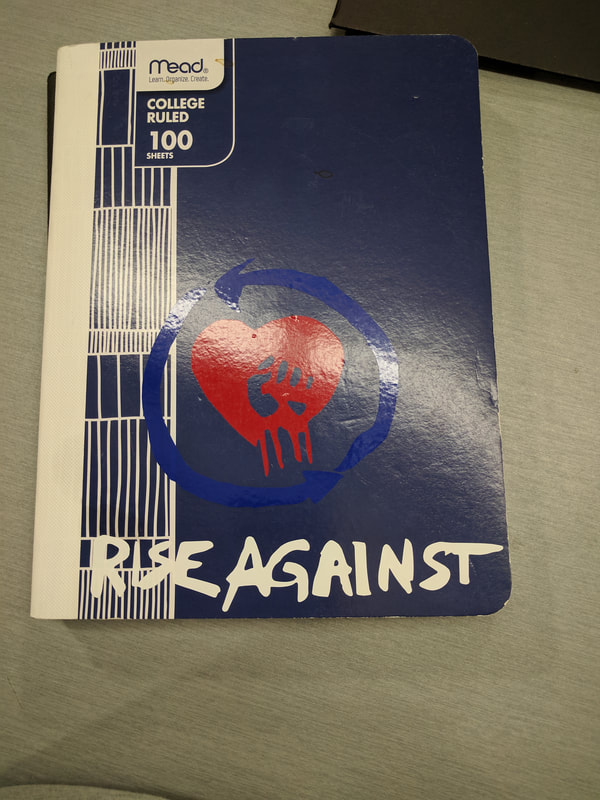
Finally I weeded the vinyl and attached it to my personal notebook. Weeding took some time to get all the extra vinyl off the tape. I used the dental tools to stab and pick away at the corners of the inside of the letters which by far took the longest.
Left: Mid-way through Right: final product
Left: Mid-way through Right: final product
|
|
During this unit I learned a lot about vinyl cutting, placing, and again I got more comfortable using Adobe Illustrator. Through this project I had to load and cut 3 different colors and also assisted others who weren't as sure, so I became very comfortable using the Cutting Master software, loading the colors, cutting, weeding, and applying. Designing the decal in illustrator was pretty quick because the process of splitting the image into separate artboards/files was pretty simple. I realized that as long as you're careful about the weeding, the decal turns out looking great, and most air bubbles are easy to workout. I'm confident that I'd be able to make another decal quickly and make it look great!
