For the CNC Mill, we were tasked with creating a car brake part in Inventor, cutting out with the Mill, and then laser cutting our names into it.
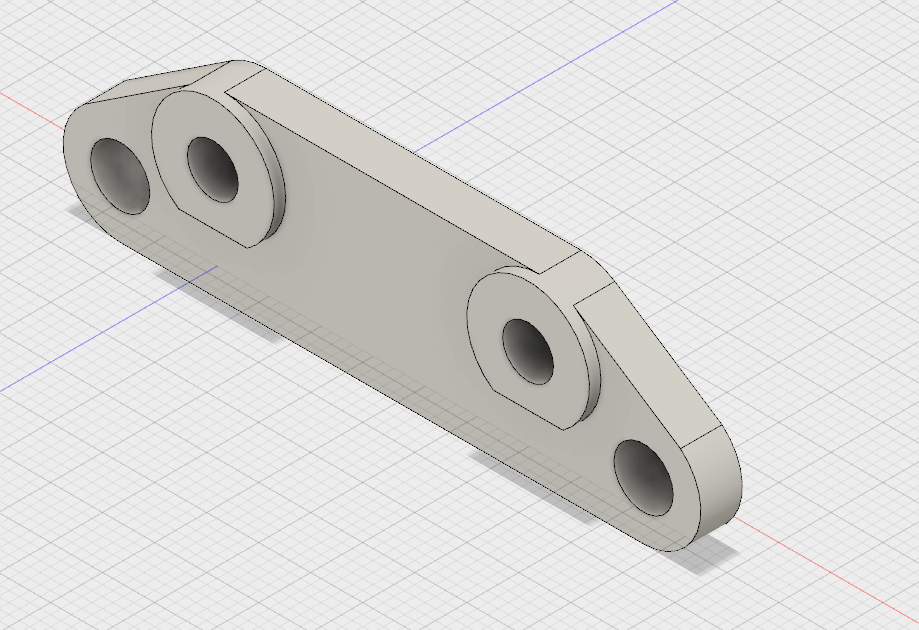
The beginning consisted of a lot of time spent in Inventor. It was a frustrating process for me because it turns out I'm not great with Inventor. Drawing the part took a lot of time and some help from others. I learned about the tangent tool, using circles then cutting away their insides, and extruding properly to utilize the fewest number of sketches. After all that, here's the brake part I drew.
The beginning consisted of a lot of time spent in Inventor. It was a frustrating process for me because it turns out I'm not great with Inventor. Drawing the part took a lot of time and some help from others. I learned about the tangent tool, using circles then cutting away their insides, and extruding properly to utilize the fewest number of sketches. After all that, here's the brake part I drew.
|
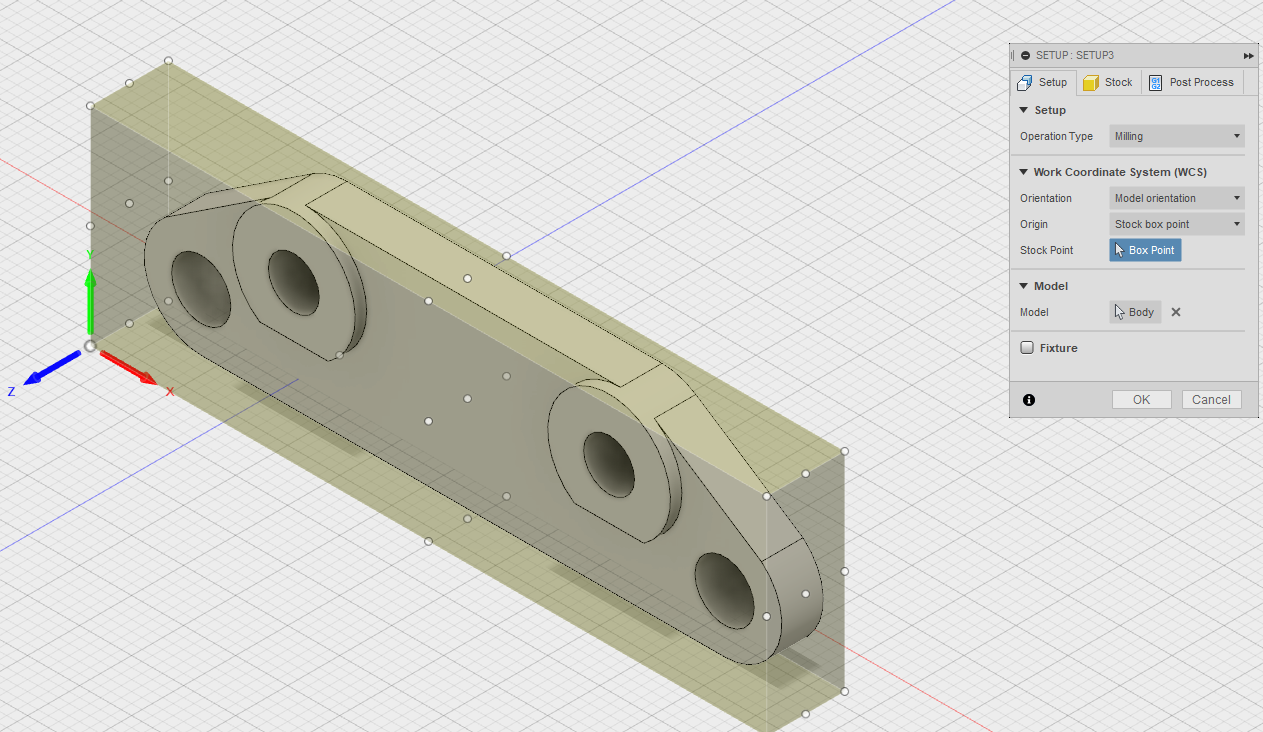
Next, I did the setup, making the size of the material and deciding the box point as the bottom left corner.
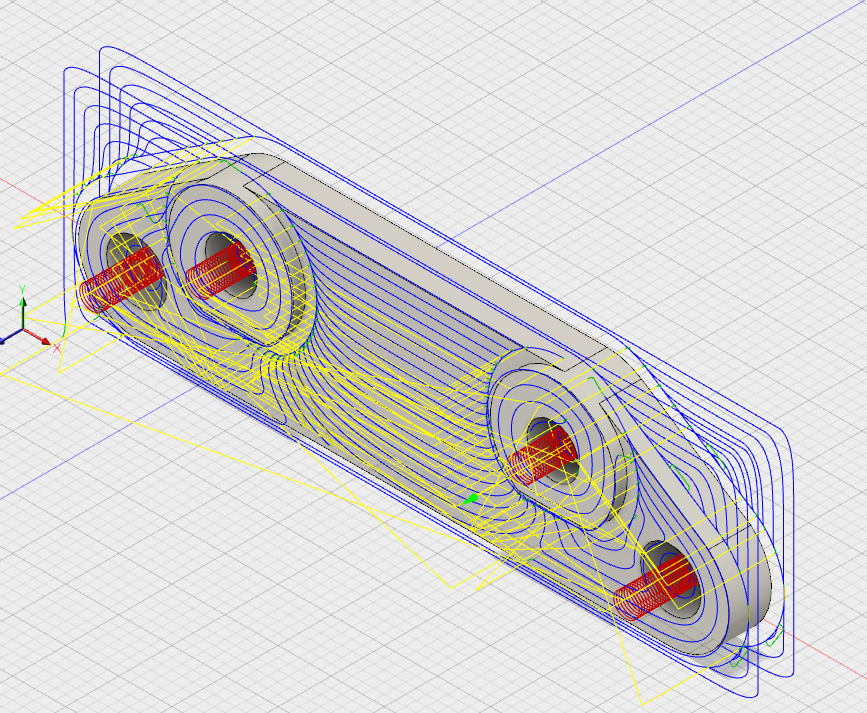
After the setup, I did a 3D Adaptive tool path. After plugging in the settings told to us, the computer generated the tool path, as shown below. On the right is the finished simulation, showing what the final product will look like.
|

|
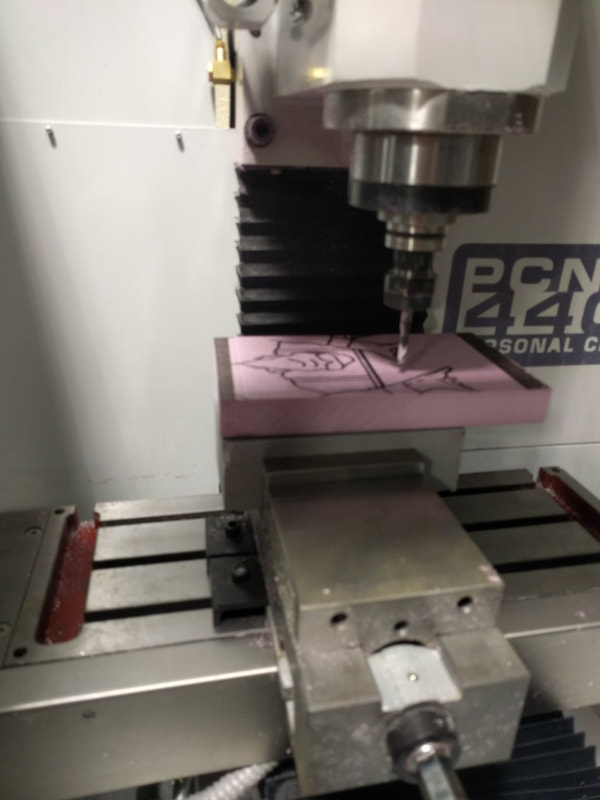
Next, I had to setup the part on the CNC Mill. I had to load the g-code, zero the machine for the bottom left corner of the foam, then hit go. It's a pretty simple process!
Finally, I laser engraved my name into the part to guarantee it's mine, below is the final product.

During this activity I learned a lot. Although most of the work was similar to the router, there were differences that were opportunities to learn. I got a better idea of what placing the box point means because it's where you have to line the bit up and zero it when you're cutting. I also learned how to do a 3D-toolpath, but the best part of the toolpath is Fusion 360 figured it out for me. I finally learned how to use the mill computer and set it up.
