Autodesk Inventor is a industry standard CAD (Computer Aided Design) software which allows users to fully model different parts in 3D. These parts can be combined in software and have different stress tests performed virtually. Inventor allows us to create and edit different parts with ease and accuracy. Together a team can completely model an entire product without having to physically make a prototype.
Making a Widget
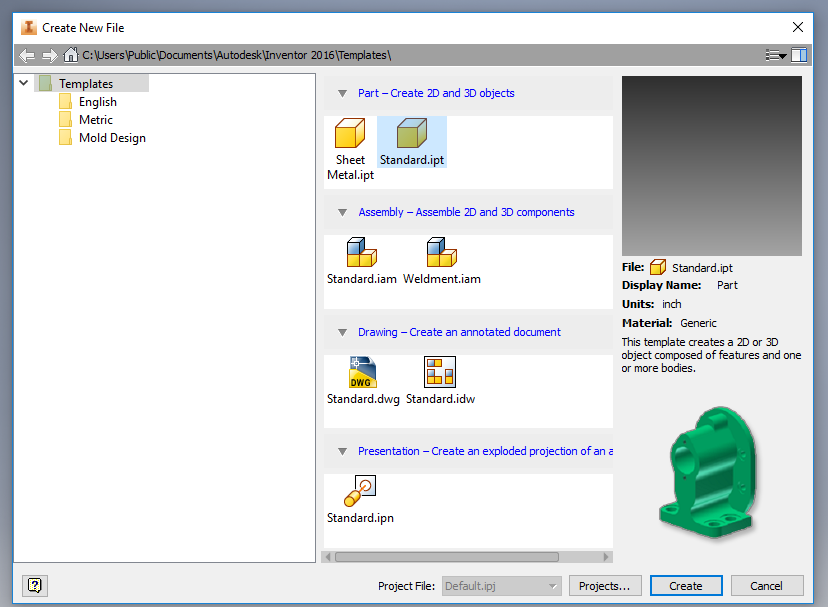
Start by making a new part file, make sure you create a standard.ipt file
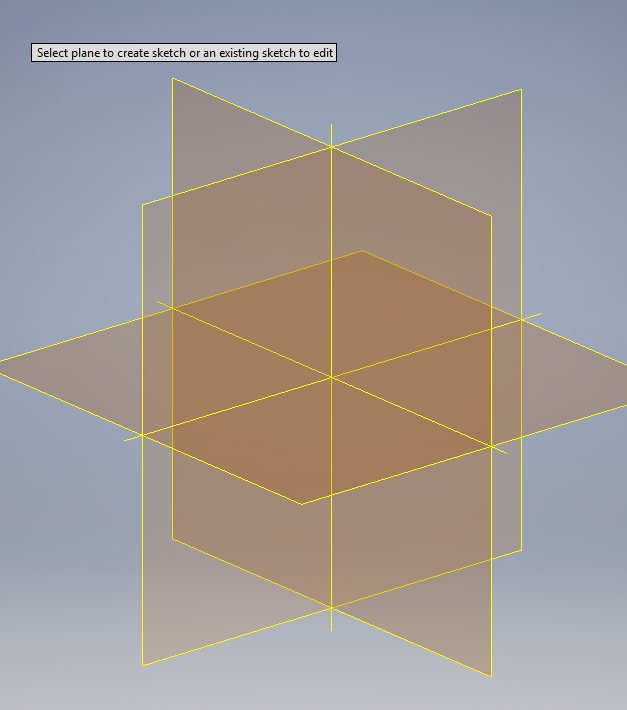
Create a 2-D sketch on the XY plane
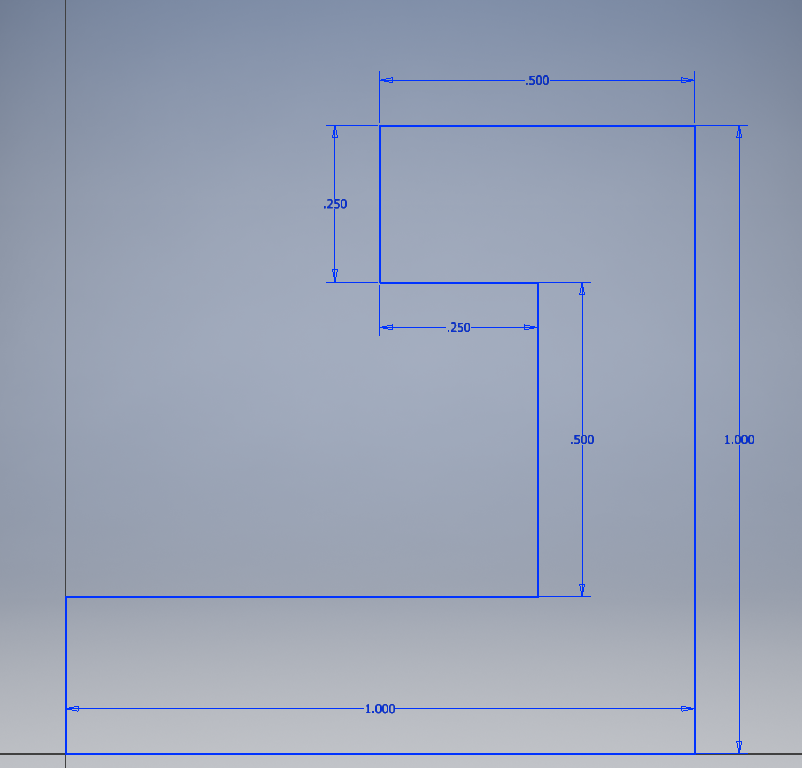
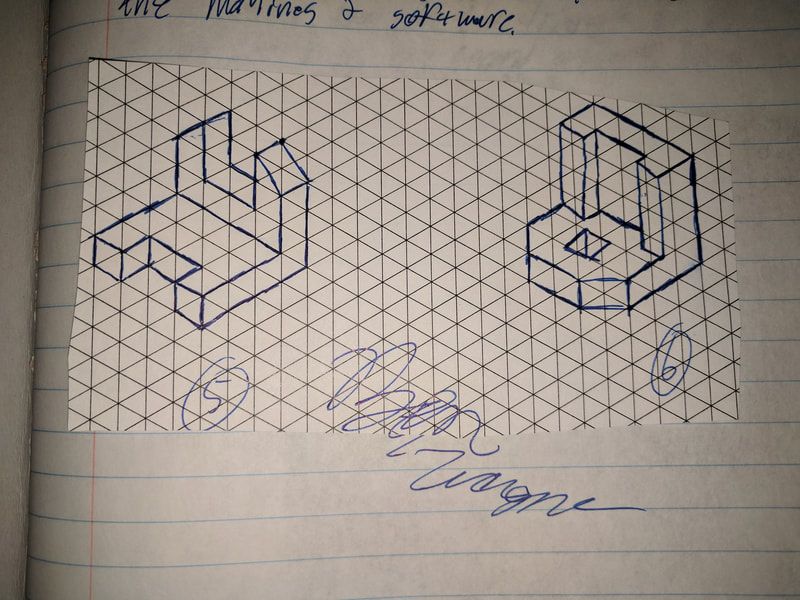
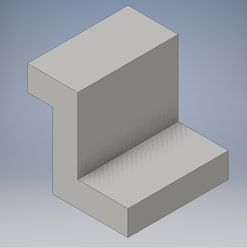
Sketch the initial object, dimensions included in picture
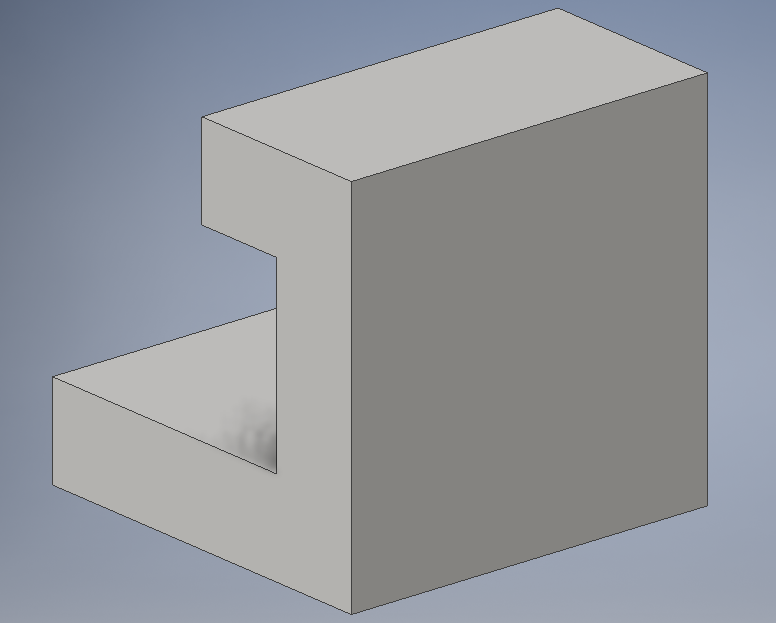
Click the extrude button and extrude out 1 inch
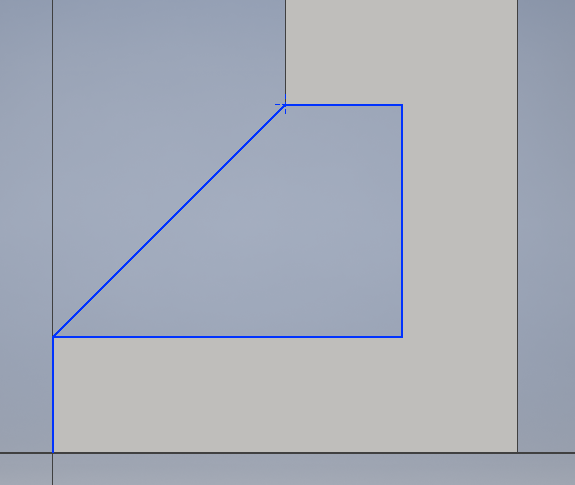
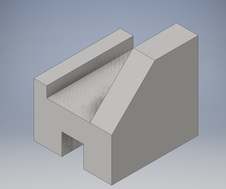
Sketch the inner part by connecting the bottom edge to the corner of the overhang as shown
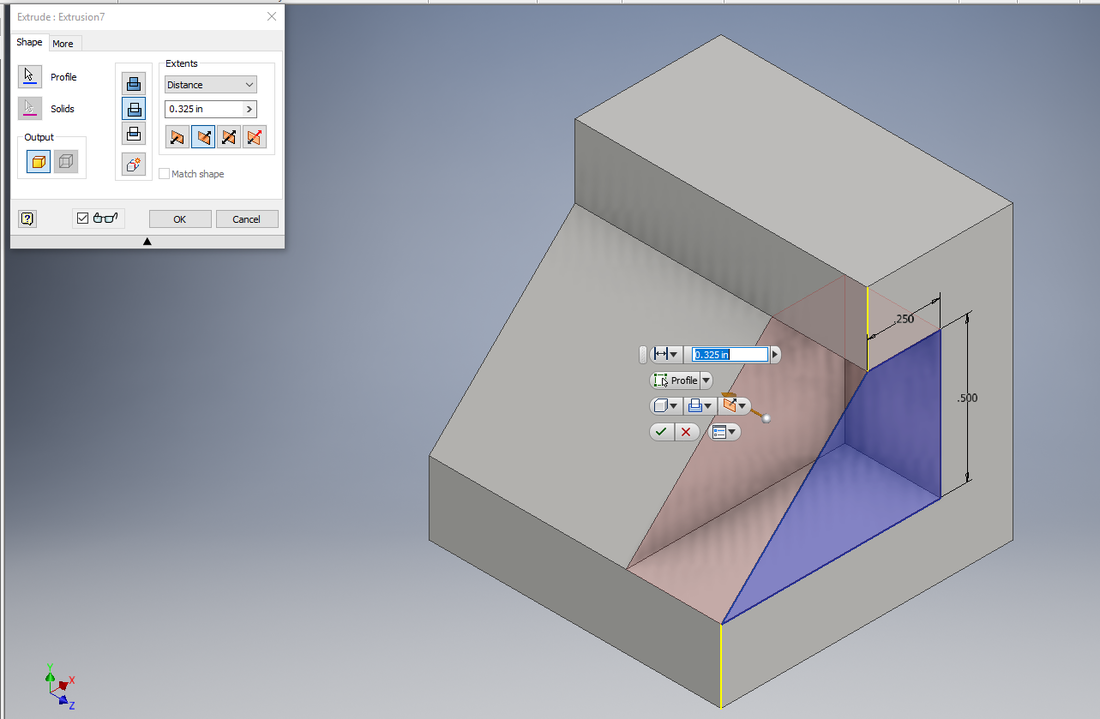
Click extrude again, and in the column of buttons click the second option which cuts and then go in .325 of an inch
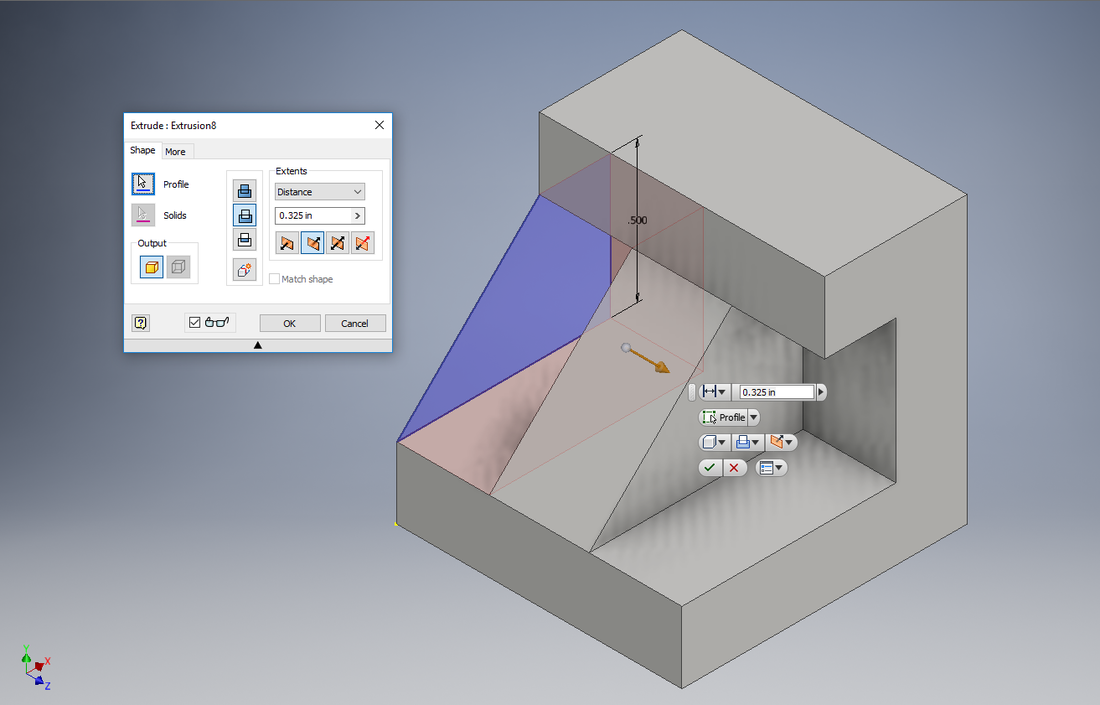
Repeat the sketch and extrude for the other side of the object
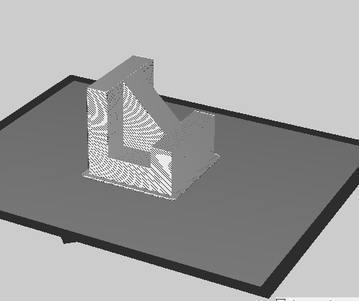
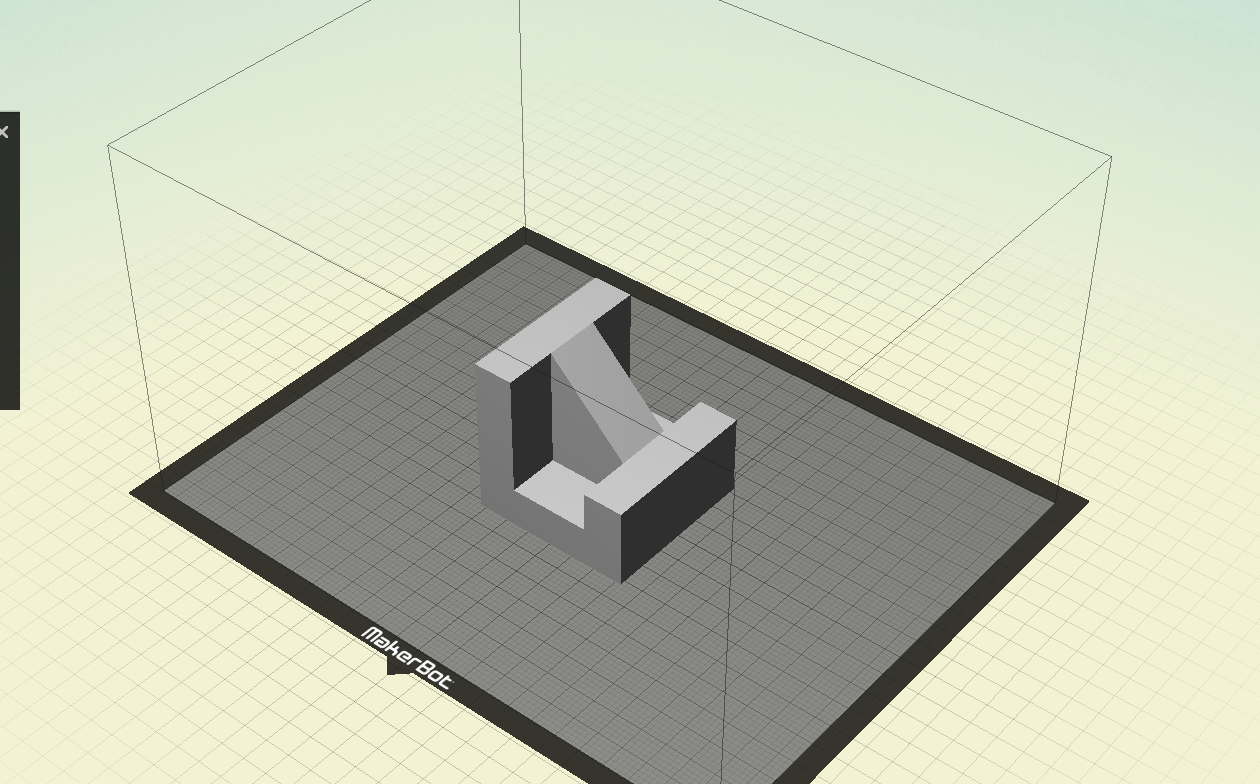
Next we'll save the part file and open it using MakerBot Desktop software and getting all of the settings correct for the printer. Make sure to orient your widget so there are no overhangs for the printer. The last thing before printing is to check the print preview in MakerBot to verify everything is set up correctly. Save the file using MakerBot's format and you're ready to print!
|
|
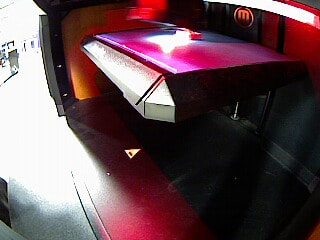
Picture from printer
|
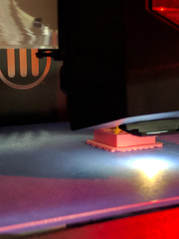
Picture ~1/2 through printing
|
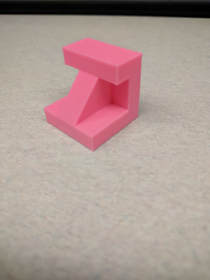
Final Product
Making this I learned a lot about different software about 3D printing in general. First off I knew somethings about Inventor from a previous class in middle school but everything was reviewed. Next I learned how to convert an Inventor .ipt to a MakerBot Desktop file which the printer could read. I also learned how to print out the widget using the 3D printer which I found fascinating.
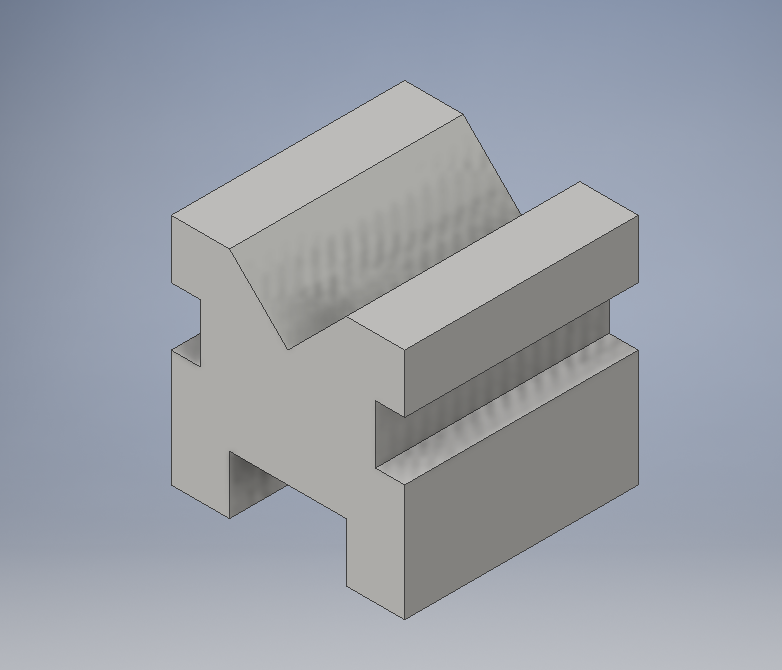
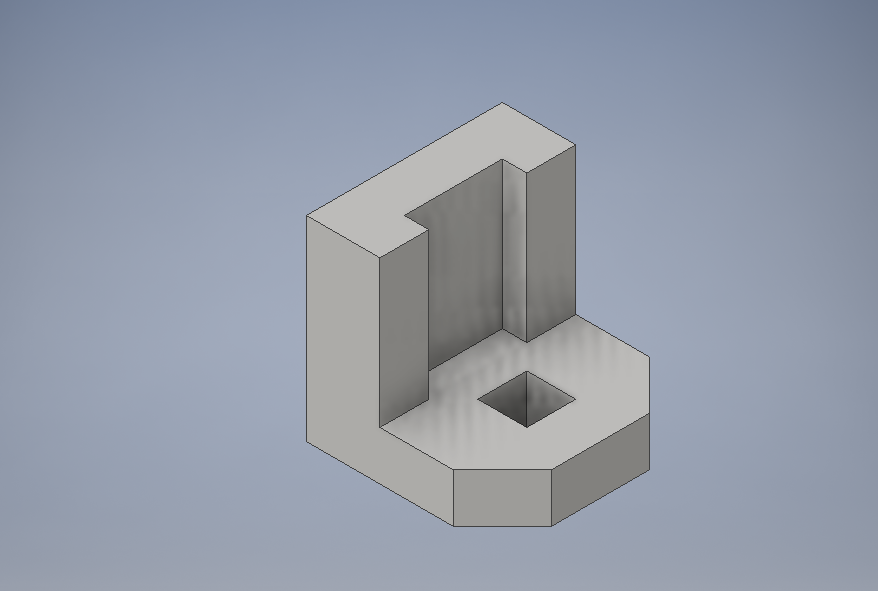
Other Widgets:
|
|

|
Photo used under Creative Commons from Clemens Vasters
