Illustrator- Graphics made easy
Adobe Illustrator is an industry standard software used mainly for graphic design and making images intended to be easily scale-able. Illustrator makes a different kind of image, instead of it being a raster image with pixels, Illustrator makes files called vectors. Vectors rely on geometric shapes and distances between them, so when up-scaling a vector image, it doesn't become a pixelated mess.
Illustrator File for Vinyl cutter
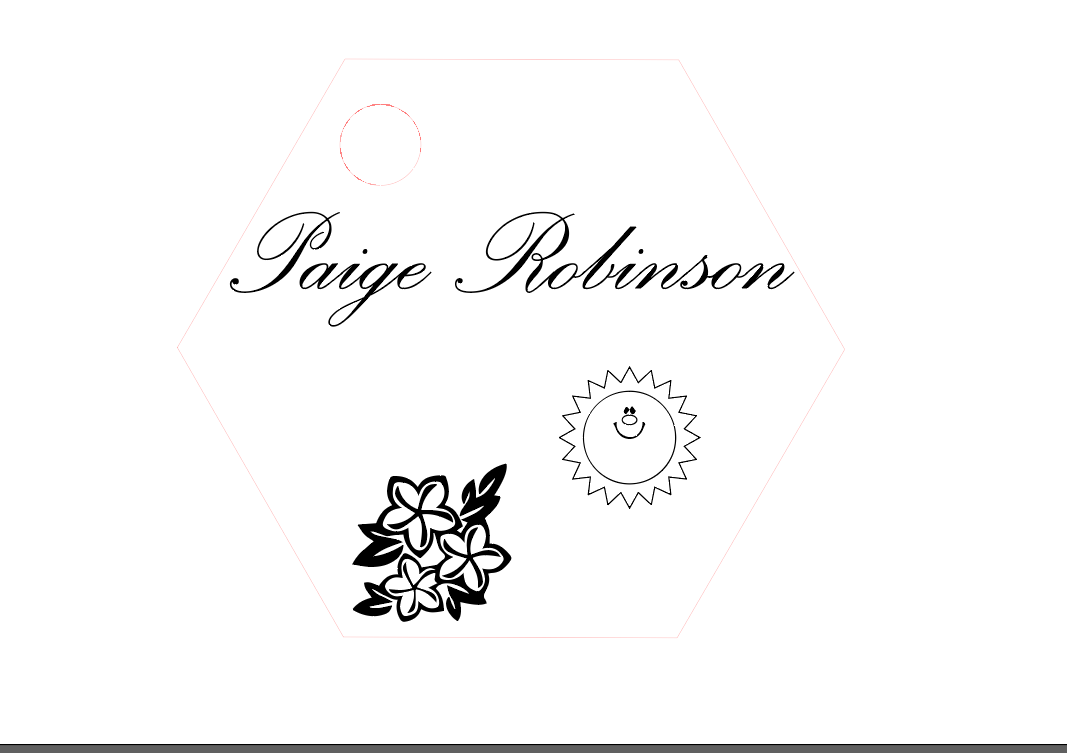
Illustrator File for Laser Cutter
How to cut using the laser
First, create what you would like to cut using Adobe Illustrator. For things meant to be cut by the laser, use a .0001 RGB Red Stroke. For things to be engraved, they can be outlined by a .0001 RGB Blue stroke, or just have it filled black.

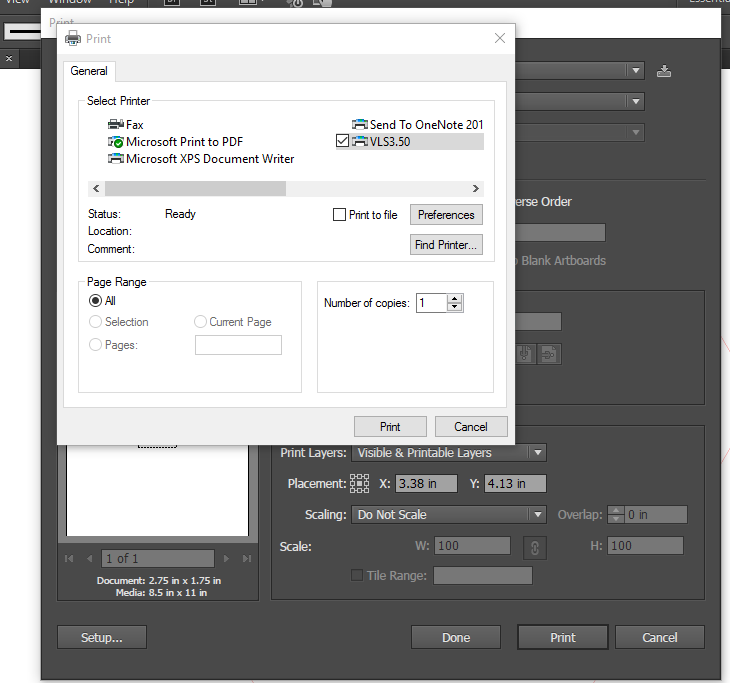
Next, pull the file up on a computer linked to the laser cutter. Click File, Print. Select the VLS printer, click setup, then preferences. It's now time to enter the material you're using!
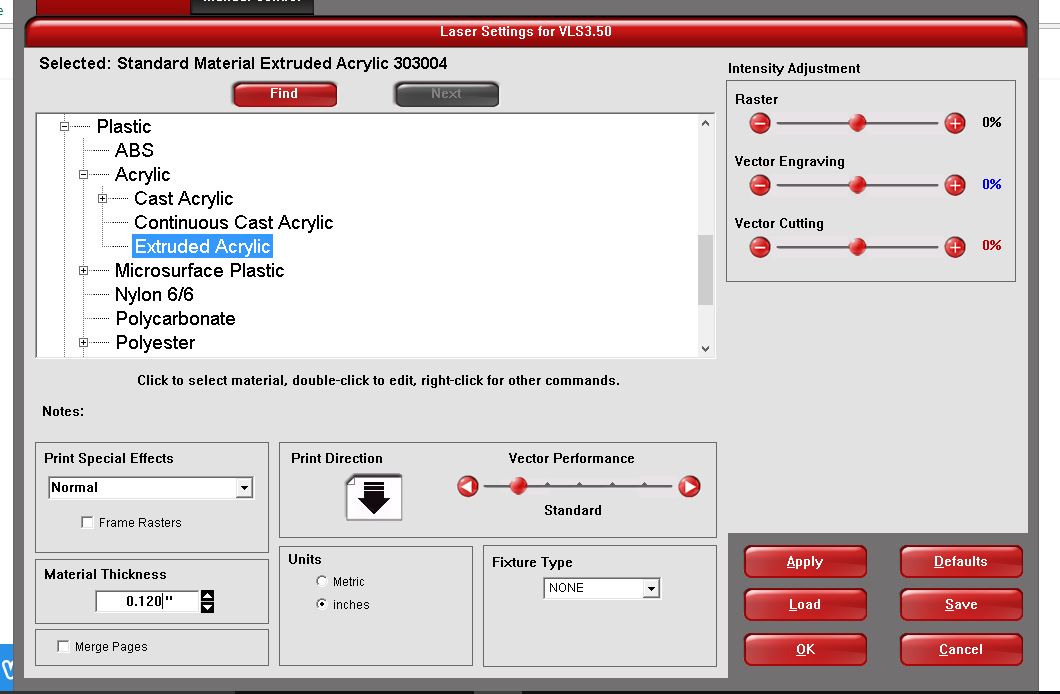
Use a digital caliper for an easy way to accurately measure the thickness of your material. For the keychain we're using extruded acrylic which can be found by clicking Plastic, Acrylic, Extruded Acrylic. Now change the thickness of the material to be the same value as the caliper read.
Click print and open the UCP software. Your picture will appear on the workspace in the middle of the screen. Make sure to turn on the ventilation for the laser cutter at this point, and click the power on the UCP software and place your material in the bed of the laser with an edge of the material pressed against the edge of the bed.

Next, click the Focus Tool and use the arrow keys on the keyboard to align the laser with a corner of your material. Watch the bed of the laser and a small red dot should appear where the laser will begin it's cut. Now select the Relocation Tool and select the corner of your picture you would like to correspond to the point where the laser is sitting and click "To Pointer". This will align the picture and the position of the laser.
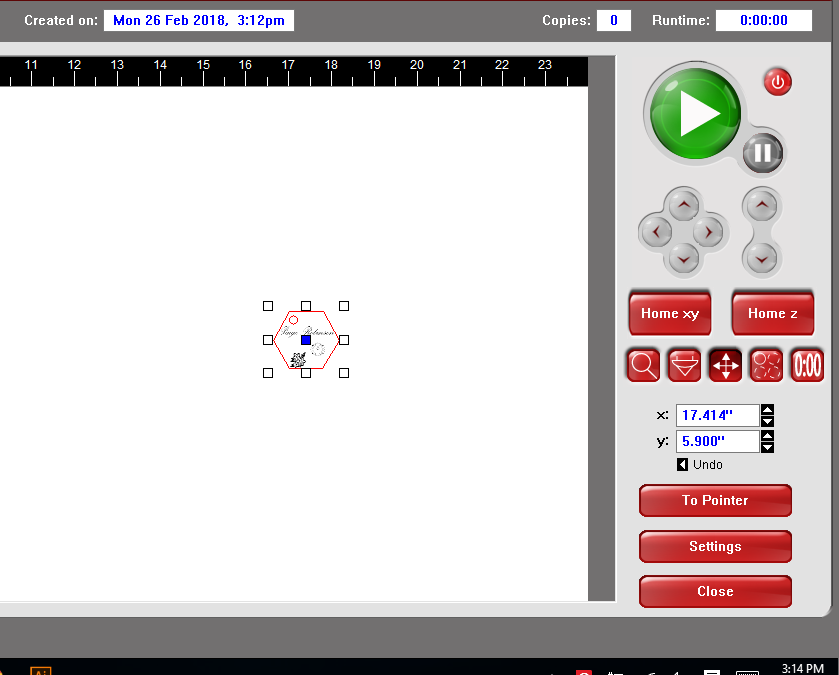
If you're worried about ruining your material like I am, it's extremely beneficial to back to the Focus Tool and verify that no edge of your cut will fall off the material.

Press the green play button and watch the print to make sure nothing burns to the ground!
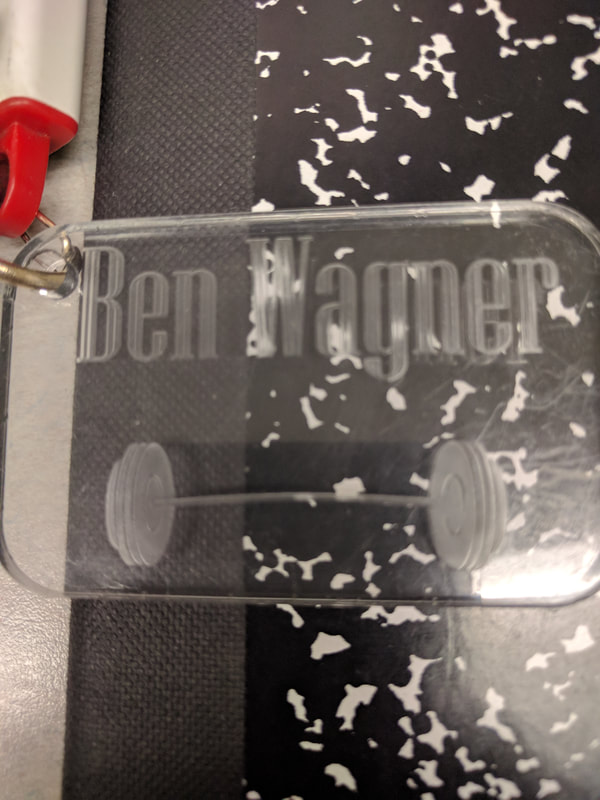
Final Product of Keychain
How to Apply a Vinyl Decal
Once you have your cut Vinyl Decal, apply masking tape to the top of the decal, making sure to cover everything you want to apply. Press hard on the vinyl to make sure the masking tape sticks. Having some dental tools will come in handy.
Begin to pull the masking tape off of the vinyl. Make sure the design you want to apply is sticking on to the masking tape and the surrounding vinyl isn't. Once you have all of the masking tape pulled off and your design stuck to it, you're set to move on.
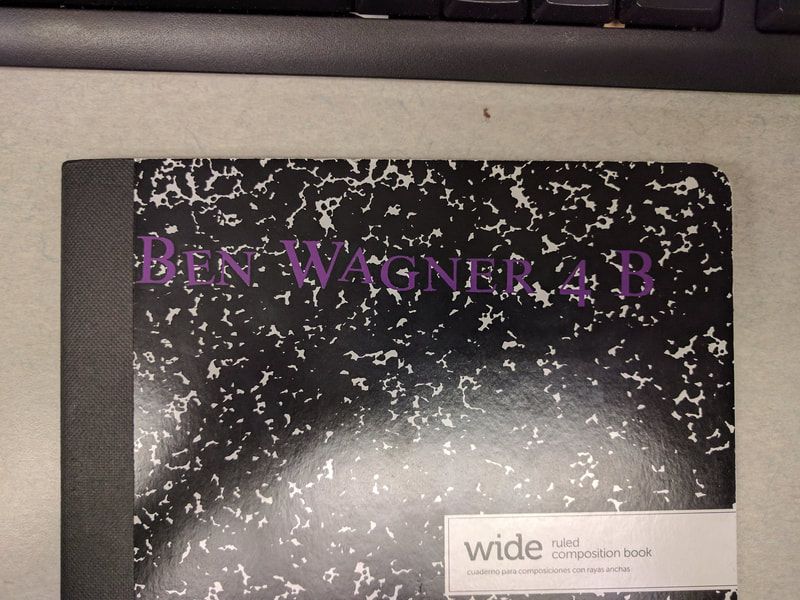
Now place the masking tape on whatever you're attaching the decal to, in this case, the front of a notebook. Repeat the last part, except you'll be peeling away the masking tape and pressing down the vinyl using the tools if required.
Final Product
This unit I learned how to use Illustrator, how to setup the laser using UCP and cut, how to setup and use the vinyl cutter, and how to apply a vinyl decal. With the knowledge under my belt on how to operate the software for designing and operating these machines, I'm confident I'll be able to complete any of the next projects. The hardest part by far for me was getting the vinyl decals to stick to the material I wanted it to at the time. I'm excited to continue working with these powerful tools.
